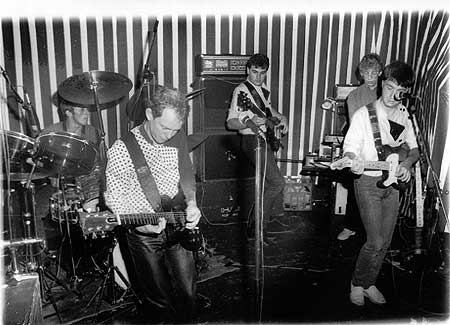
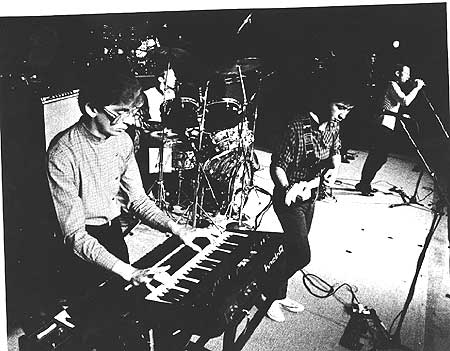
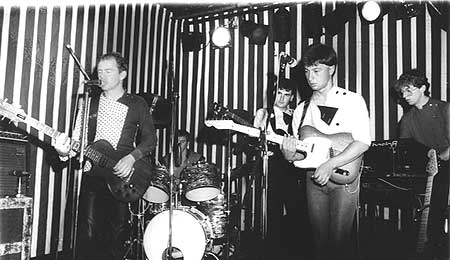
Click here to go to main site.

D-Flex

D-Flex 1

D-Flex 2

D-Flex 3

Photographs courtesy of Brad Cavanagh